
Herringbone Installation
These instructions are to help you lay out and design a herringbone installation. For tile instaView Installation llation instructions and methods, please see our other installation guides.
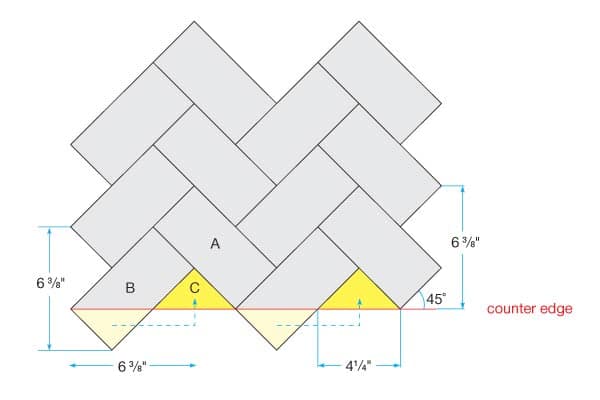
45 degree herringbone pattern
Tools and supplies needed
- Chop saw
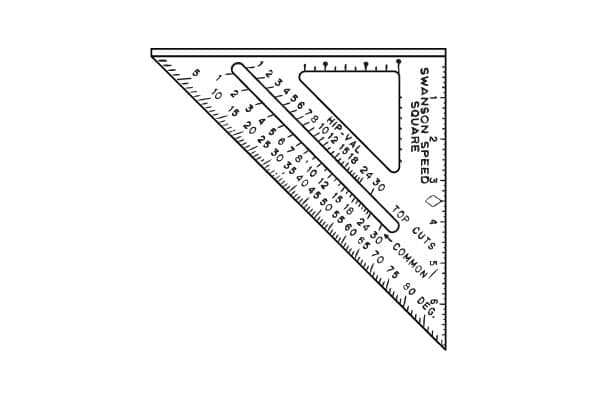
- Straight edge or Speed Square®
- Pencil or other non-permanent marker
- Chalk line
- Fine-grit sandpaper (400 or 600 grit)
- Loctite® PL Premium or LePage® PL Premium.
The herringbone pattern is laid at a 45-degree angle. All angles, whether cut or placed, are at 45 degrees.
Using a Speed Square® is recommended for this pattern installation. The speed square is a triangle with one 90-degree and two 45-degree angles.

A 45-degree herringbone pattern requires three components
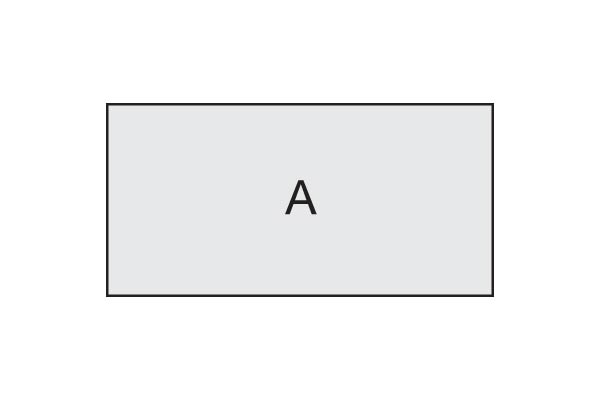
Full Tile (image A)
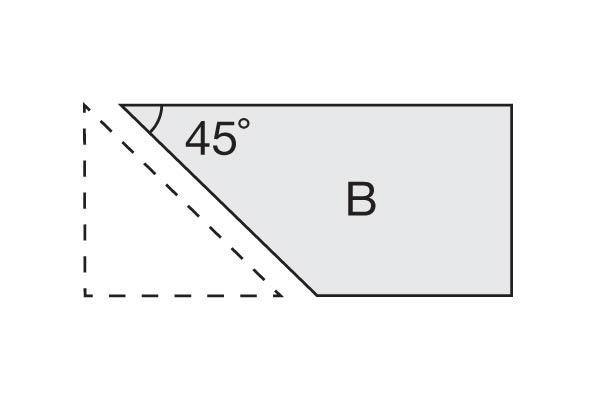
Tile with a corner cut off at 45-degrees (image B)
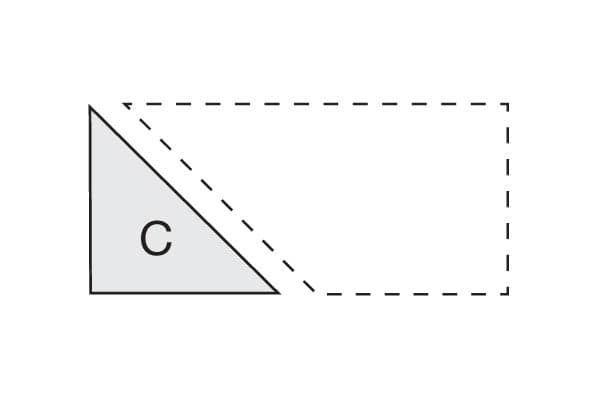
Remaining Corner (image C)
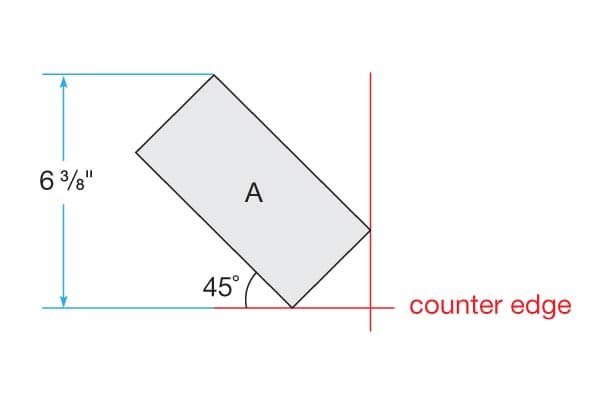
Measure, mark and snap lines if necessary for edges, guides or top of work area. For example, snap a line at 6-3/8″ above the countertop height to align top points of first row of tiles, if desired.
To start, place a full tile (A) tilted at 45-degrees against the edge or corner of the work area (in our example, the right, bottom side). Lay the tile along the side of the speed square to keep the tile at the correct angle.
Mark a tile using your Speed Square® and pencil, drawing a cut-line from one corner at 45-degrees. Using the chop saw (miter box) cut the tile on the marked line.
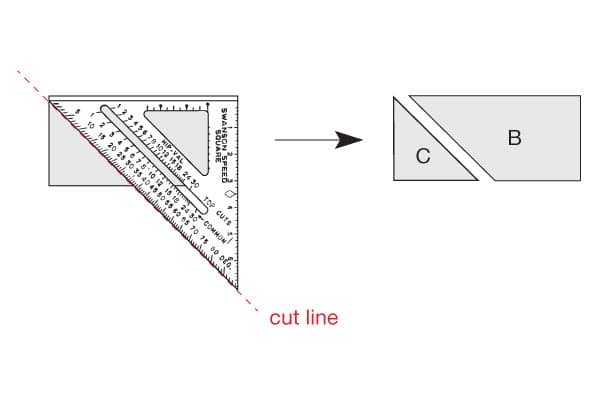
Note: Depending on the miter saw you’re using, you may need to compensate for the saw’s blade width. We recommend you “cut out” the cut-line, (center of saw blade cuts center of cut-line) instead of cutting on either side of the line as usual. Any gap should be left on the bottom or side terminations when applying cut tile parts B and C.
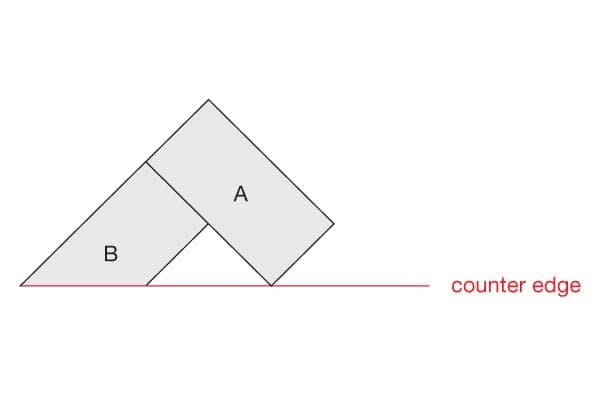
Then place a corner-cut tile (B) as shown.
Fill in the remaining triangular area with the cut corner (C).
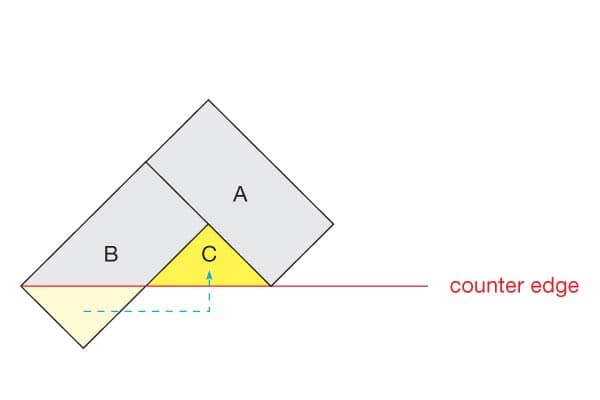
Always push part C up against A and B. Any gap that remains at the bottom countertop can be caulked later.
Continue to stack and stick tiles as shown.
For each vertical edge (left and right sides), fill open spaces with cut corners (C) or measure and cut custom pieces as needed. If the cut pieces are smaller than half of a tile, an additional adhesive may be needed to get the smaller pieces to adhere properly. The recommended adhesive is Loctite® PL Premium or LePage® PL Premium. Carefully read and follow manufacturer’s directions for the adhesive. Measure and cut remaining fill pieces for the top as needed. Caulk the bottom, sides or top of the tiled area as needed.